
How to Grow Ginger at Home: A Beginner's Step-by-Step Guide
Stop overpaying for fresh ginger at the supermarket. That single root you buy for a couple of pounds holds the secret to an endless supply, and growing it is far easier than you think. If you've been put off by not knowing which soil to use, what size pot to buy, or how to even get it to sprout, this is the guide for you. We cut straight through the confusion with direct, actionable steps designed for UK growers.
This article provides the complete blueprint for how to grow the ginger successfully at home, turning a one-time purchase into a continuous harvest. Get ready to save money and enjoy the unbeatable taste of homegrown ginger in your cooking. We'll cover everything from choosing the right root to the exact moment to harvest for the best flavour and yield. No more waste, just results.
Key Takeaways
- Turn a cheap supermarket ginger root into a continuous supply. This guide shows you the essential, low-cost kit you need to get started.
- Master the step-by-step process of how to grow the ginger, from preparing the rhizome to providing the correct light and water for a strong plant.
- Discover the key signs that your ginger is ready for harvest and learn the best techniques to store it for long-lasting freshness.
- Quickly solve common issues like yellowing leaves or slow growth with our expert troubleshooting tips for UK conditions.
Getting Started: Your Essential Ginger Growing Toolkit
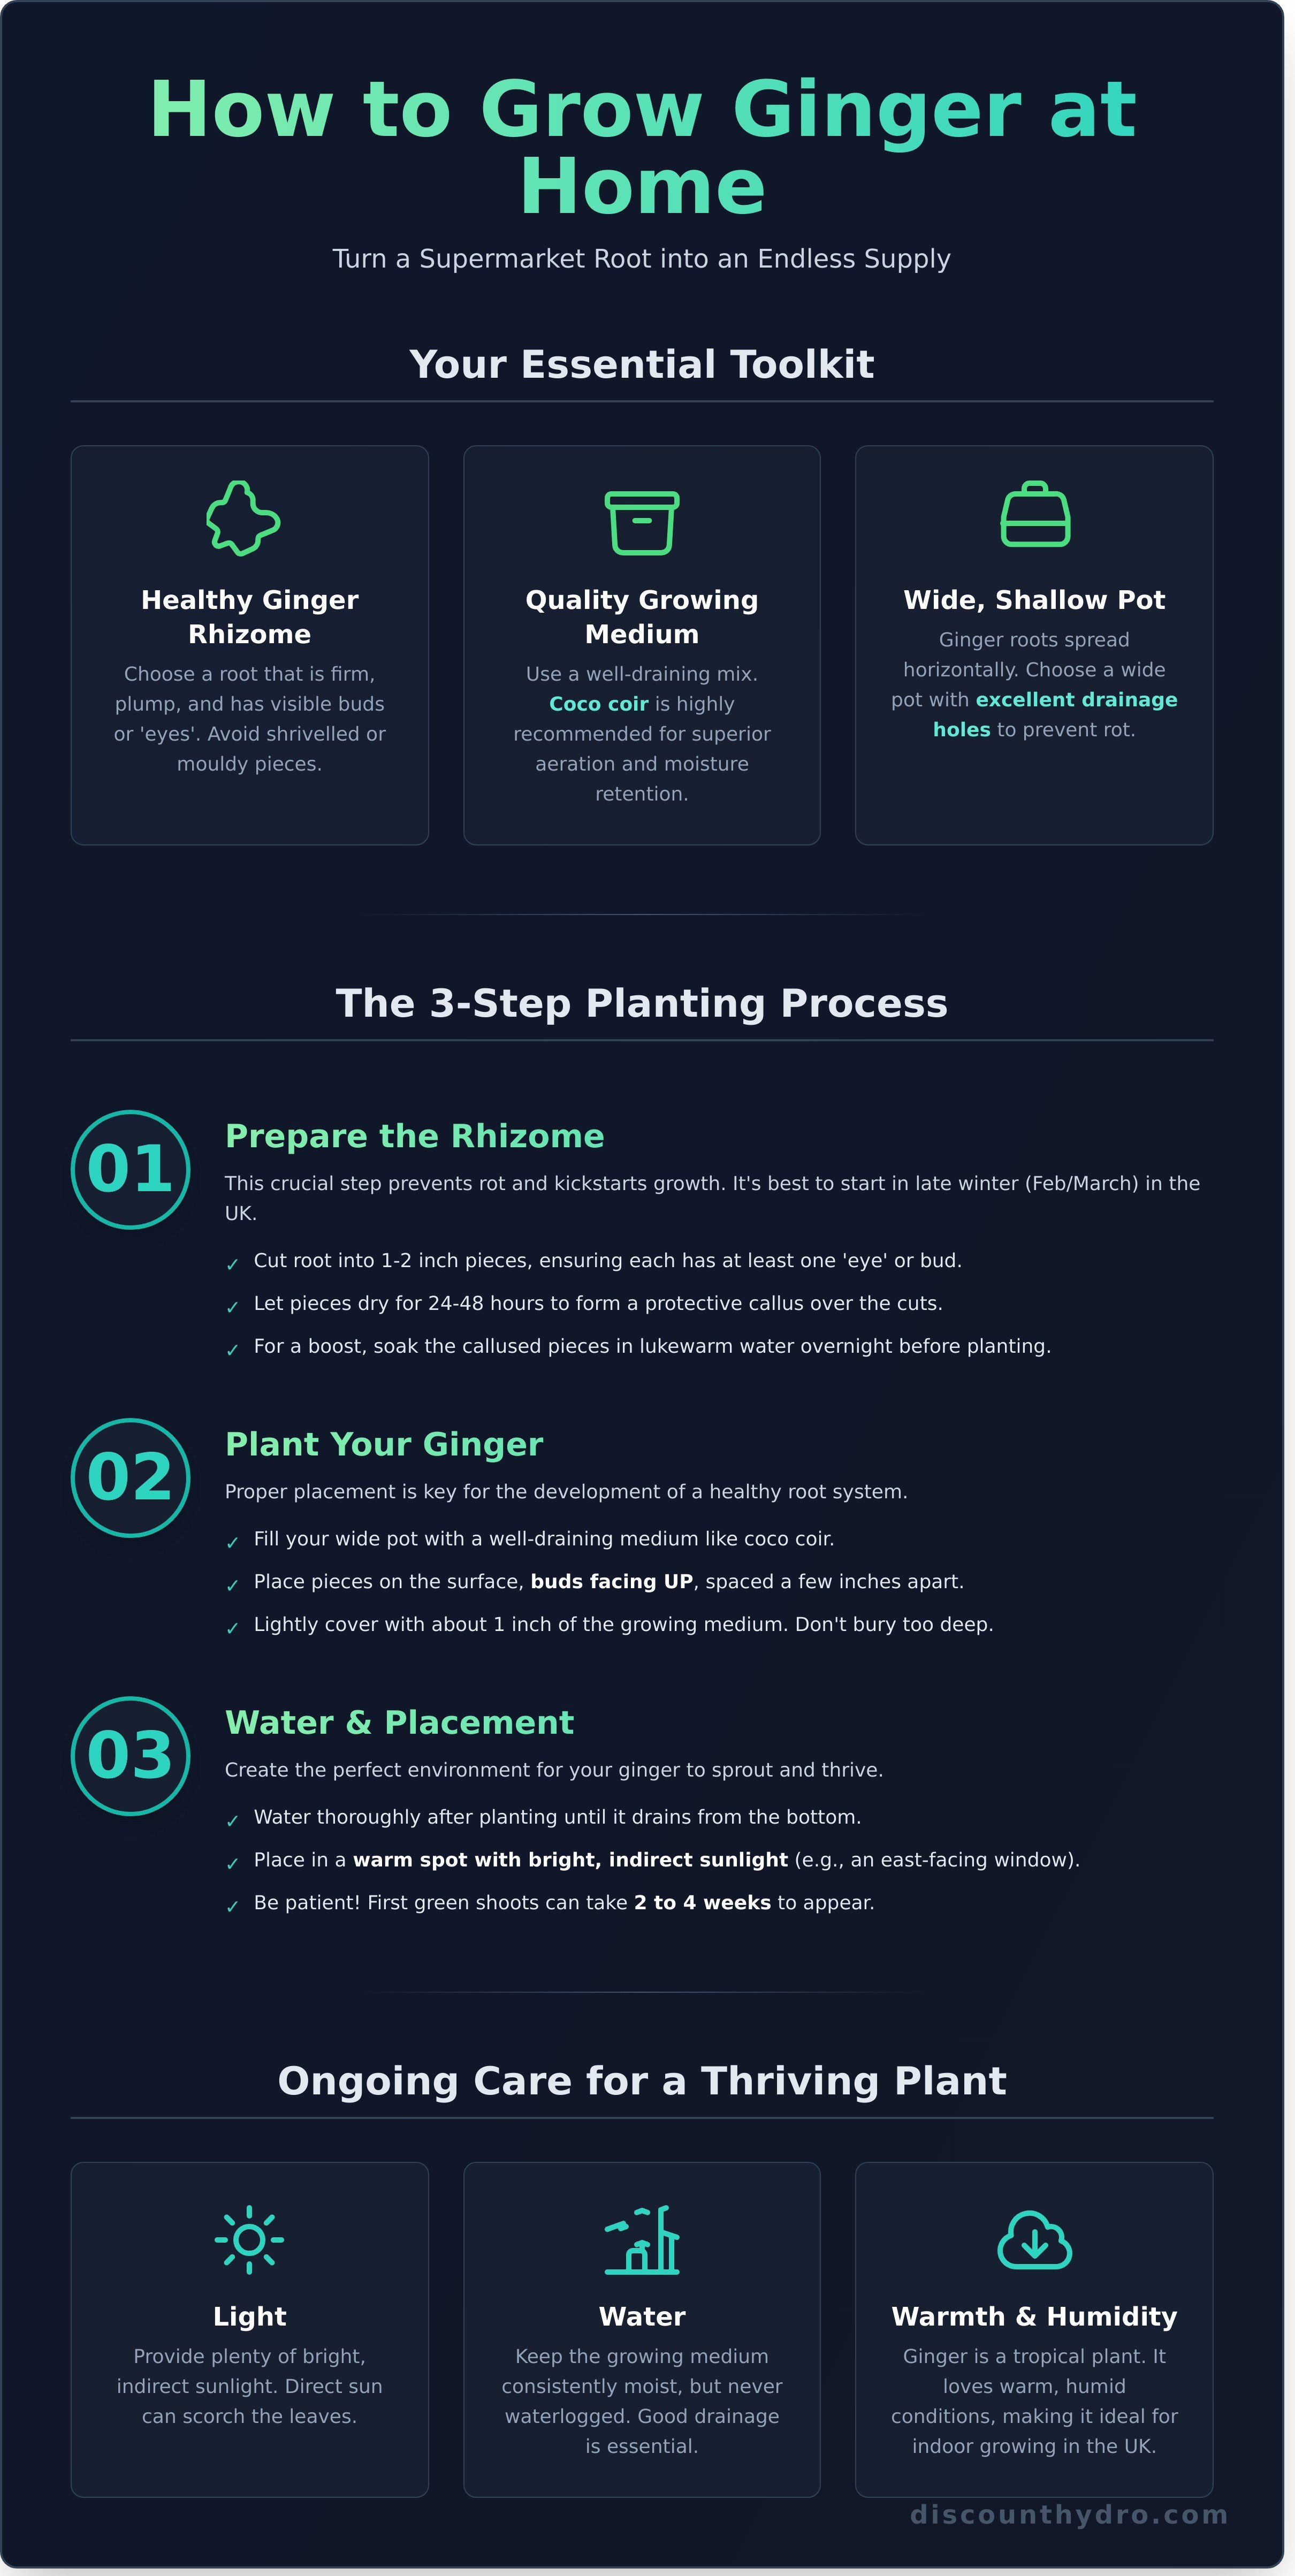
Growing your own ginger is simpler than you think and offers serious benefits. You get unbeatable fresh flavour for your cooking, save money compared to high supermarket prices, and have full control over the growing process. Forget needing a large garden; this guide on how to grow the ginger works with just a sunny windowsill. Ginger has been cultivated for millennia for its culinary and medicinal properties; you can learn more about the history of ginger and its journey into our kitchens. Get the right kit, and you're ready to start.
Here’s the essential equipment you’ll need to get the job done right:
- A healthy ginger rhizome
- A quality growing medium
- A suitable pot and tray
Selecting the Perfect Ginger Rhizome
Your success starts at the supermarket. Don't just grab any piece. Look for a ginger root (rhizome) that is firm, plump, and has smooth, thin skin that isn’t wrinkled. Most importantly, check for small bumps or buds-these are the 'eyes' from which new growth will sprout. Avoid any pieces that are shrivelled, soft to the touch, or show any signs of mould.
Choosing Your Growing Medium: Soil vs. Coco Coir
A standard, well-draining potting mix from a garden centre will work. However, for superior results and faster growth, we recommend coco coir. This professional-grade hydroponic medium provides excellent aeration to prevent root rot while retaining the perfect amount of moisture for healthy growth. It's the smart choice for anyone serious about indoor growing. Explore our range of growing media like coco and perlite for the UK's best prices.
Essential Equipment: Pots and Trays
Ginger roots spread horizontally, so a wide, shallow pot is far more effective than a deep, narrow one. The most critical feature is drainage. Ensure your pot has plenty of holes at the bottom to let excess water escape and prevent the rhizome from rotting-this is a common point of failure. Placing a saucer or tray underneath will catch runoff and protect your surfaces. Find the perfect pots and trays for your project in our extensive collection.
The Planting Process: A Step-by-Step Guide
Getting your ginger into its new home is straightforward. The key to success is proper preparation and placement. For growers in the UK, the best time to start is late winter or early spring (think February or March). This gives the plant plenty of time to establish itself indoors before the warmer months. This section provides the exact steps on how to grow the ginger from a prepared rhizome, setting you up for a healthy, productive plant.
Step 1: Preparing the Rhizome (Sprouting)
Your first job is to get the ginger root ready for planting. This isn't just a suggestion-it's a critical step to prevent the rhizome from rotting in the soil. Start by cutting your ginger root into smaller pieces, about 1-2 inches long. Critically, ensure every piece has at least one visible bud or "eye," as this is where new growth will emerge. Let these cut pieces sit out in a dry spot for 24-48 hours to allow the cut surfaces to dry and form a callus. For an extra boost, you can soak the pieces in lukewarm water overnight before planting. For a more detailed breakdown of this process, the Virginia Cooperative Extension's guide to growing ginger offers excellent technical advice on rhizome selection and preparation.
Step 2: Planting Your Ginger
With your rhizome prepared, it's time to plant. Fill your chosen pot with a high-quality, well-draining growing medium like coco coir, leaving about an inch of space at the top. Place the ginger pieces flat on the surface of the medium, ensuring the buds are facing up towards the sky. If you're planting multiple pieces in one container, space them at least a few inches apart to give each one room to develop its own root system. Once positioned, cover the pieces lightly with about one inch of your growing medium. Don't bury them too deep; a light covering is all that's needed.
Step 3: Initial Watering and Placement
Immediately after planting, give the pot a thorough watering. Continue adding water until you see it draining freely from the bottom holes. This ensures the entire medium is moist and helps settle the rhizome in its new home. Next, find the perfect spot. Ginger thrives in warmth and humidity, so place the pot in a warm area of your home that receives plenty of bright, but indirect, sunlight. A spot near an east-facing window is often ideal. Avoid direct, harsh sun, as it can scorch the delicate new shoots. Now, be patient. It can take anywhere from two to four weeks for the first green shoots to appear. This is the simplest part of how to grow the ginger, but it requires patience.
Caring For Your Growing Ginger Plant
Once your ginger rhizome has sprouted, the real work begins. Consistent care is the key to a healthy plant and a successful harvest. Understanding the three pillars of plant care-light, water, and nutrients-is fundamental to mastering how to grow the ginger indoors. Get these right, and you'll create the perfect environment for your tropical plant to thrive, even in the unpredictable UK climate. While this section covers ongoing care, you can also consult a comprehensive step-by-step guide to growing ginger for details on the entire lifecycle.
Light Requirements: Sun or Grow Lights?
Ginger thrives in bright, indirect sunlight for about five to six hours a day. A south-facing windowsill can be an excellent spot, but you must monitor the leaves for any signs of scorching from direct sun. Given the often-overcast UK weather, providing consistent, high-quality light can be a challenge. For darker homes or to guarantee optimal growth year-round, a full-spectrum LED grow light is your best investment. It provides the exact light spectrum your ginger needs without the risk of burning the foliage.
Browse our efficient LED grow lights for indoor gardening to give your plant the power it needs.
Watering Schedule: Keeping the Soil Moist
The goal for watering ginger is to keep the growing medium consistently moist but never waterlogged. Overwatering is the fastest way to kill your plant, as it leads to root rot. A simple rule is to water thoroughly whenever the top inch of the soil feels dry to the touch. Let the excess drain away completely. During the winter months, your plant's growth will naturally slow down, so you will need to reduce your watering frequency accordingly. Always check the soil before adding more water.
Feeding Your Ginger: The Role of Nutrients
Ginger is a heavy feeder, meaning it consumes a lot of nutrients to produce those flavourful rhizomes. Once you see the first green shoots emerge, it's time to start a regular feeding schedule. Use a balanced, all-purpose liquid fertiliser every two to three weeks throughout the main growing season (spring and summer). This provides the essential fuel for vigorous leaf and root development, directly impacting the size and quality of your final harvest. Don't skip this step if you want the best results.
Shop our high-quality plant nutrients for a bigger harvest and see the difference it makes.
Harvesting and Storing Your Homegrown Ginger
After months of care, the final step is reaping your reward. Harvesting homegrown ginger is straightforward and provides a yield with a flavour and potency far superior to anything from the supermarket. Following the correct harvesting and storage procedures ensures you get maximum value from your efforts and nothing goes to waste.
When and How to Harvest Ginger
A key part of learning how to grow the ginger is knowing the right time to harvest. Your plant will be ready for a full harvest in approximately 8-10 months. The primary indicator is when the green stems begin to yellow and die back. However, you don't have to wait that long. For a small amount of fresh ginger, you can start ‘robbing’ the plant after about 4 months by carefully digging at the side of the pot and snapping off a piece of the rhizome.
For the main harvest, stop watering the plant for about a week to allow the soil to dry out. This makes the process cleaner. Gently tip the entire plant out of its container onto a tarp or newspaper. Carefully brush the loose soil away from the rhizome to reveal your full crop.
Curing and Storing Fresh Ginger
Once unearthed, break or cut the large rhizome into more manageable pieces, often called ‘hands’. Wash them thoroughly to remove all soil, then pat them dry. To prepare them for storage, allow the pieces to air dry in a well-ventilated spot for a day or two. This curing process helps the skin toughen up, which is crucial for preventing rot and extending its shelf life.
- Short-Term (Fridge): Store unpeeled, cured ginger in a paper bag or a container in your fridge's crisper drawer. It will remain fresh and firm for up to a month.
- Long-Term (Freezer): For storage lasting up to six months, freeze the ginger hands whole in a freezer-safe bag. You can grate it directly from frozen as needed, no thawing required.
Replanting for a Continuous Supply
The most cost-effective part of knowing how to grow the ginger is creating a self-sustaining cycle. Before storing your entire harvest, select a few of the healthiest-looking rhizome pieces. Ensure each piece is at least an inch long and has several visible growth buds, or ‘eyes’. Allow these pieces to dry for a day, then simply replant them in fresh potting mix to start the process over again. This simple step guarantees you'll never have to buy ginger again.
Ready to start your next crop? Get all the essential pots and nutrients delivered directly to your door.
Troubleshooting Common Ginger Growing Problems
Even when you follow all the steps on how to grow the ginger, problems can arise. Don't worry-most issues are easy to fix. This guide will help you diagnose and solve the most common challenges to ensure a successful harvest. Getting ahead of these problems is key to an efficient and productive indoor grow.
Problem: My Ginger Isn't Sprouting
If your ginger rhizome isn't showing signs of life, check these common causes. A frequent mistake for beginners is impatience; sprouting can take anywhere from two to eight weeks. Ensure your setup is correct:
- Warmth: Your pot needs a consistently warm spot. The ideal soil temperature is between 22-25°C. If your room is cool, a heat mat is a low-cost solution.
- Watering: Overwatering is the fastest way to kill your project. Soggy soil will cause the rhizome to rot before it can sprout. Keep the soil lightly moist, not waterlogged.
- Rhizome Health: Always start with a plump, healthy rhizome with visible growth buds or 'eyes'. Old, shrivelled ginger from the supermarket is unlikely to sprout.
Problem: The Leaves are Turning Yellow
Yellow leaves can signal a few different issues. First, check your watering schedule. Both overwatering and poor drainage can suffocate the roots, causing leaves to yellow and wilt. If the soil is constantly wet, let it dry out more between waterings. Yellowing can also be a sign of a nitrogen deficiency. If overwatering isn't the issue, your plant likely needs a nutrient boost. Ensure balanced nutrition with our complete nutrient kits to correct deficiencies fast. Finally, if your plant is 8-10 months old, yellowing leaves and dying stems are normal-it means your ginger is ready to harvest!
Problem: Pests like Spider Mites or Fungus Gnats
Indoor plants are a prime target for pests. Fungus gnats-small black flies hovering around the soil-are a clear sign that your soil is too moist. Let the top layer of soil dry out completely and use yellow sticky traps to catch the adults. Spider mites are tiny and create fine webbing on the undersides of leaves. They thrive in dry, warm conditions. An application of neem oil is a simple and effective treatment. Don't let pests ruin your harvest. Find effective pest control solutions for your grow room, from neem oil to sticky traps, all at the UK's best prices.
Your Journey to Homegrown Ginger Starts Now
Growing your own ginger is a surprisingly simple and rewarding project. You've learned that success hinges on a few key factors: starting with a healthy, plump rhizome, providing it with well-draining soil in a warm spot, and maintaining consistent moisture without waterlogging. This guide has provided you with the complete blueprint for how to grow the ginger, turning a piece of root from the shop into a continuous supply of fresh, aromatic spice for your kitchen.
Ready to turn that knowledge into action? Get all the supplies you need to start growing at Discount Hydro! We are your one-stop shop for everything required, offering a huge range of pots, specialist nutrients, and high-quality growing media. We guarantee the UK's best prices on all your growing gear, backed by fast, nationwide delivery. Order today and get everything you need sent directly to your door.
Embrace the satisfaction of harvesting your own crop. We wish you a successful and flavourful ginger-growing adventure!
Frequently Asked Questions About Growing Ginger
How long does it take to grow a full ginger plant?
Expect to see the first green shoots emerge from the rhizome 2-4 weeks after planting. For an early harvest of mild 'young' ginger, you will need to wait 4-6 months. For a fully mature rhizome with tough skin and a strong, pungent flavour, the entire process of how to grow the ginger takes approximately 8-10 months. The plant will signal its maturity when the green stems begin to yellow and die back.
Can I grow ginger outdoors in the UK?
Growing ginger outdoors in the UK is difficult due to the climate. As a tropical plant, it cannot survive frost. You can try growing it in a container in a very sheltered, sunny spot during the warmest summer months, but it must be moved indoors before temperatures drop in autumn. For a guaranteed and successful harvest, growing ginger indoors or in a heated greenhouse is the most reliable method for UK growers.
Do I need to use organic ginger from the supermarket?
Yes, using organic ginger is strongly recommended. Conventionally grown ginger is often treated with a chemical growth inhibitor to prevent it from sprouting in the shop, which will also stop it from growing for you. While not impossible, your chance of success is much lower. To ensure your ginger rhizome sprouts, always choose an organic one, preferably a plump piece with several visible growth buds, or 'eyes'.
What's the difference between harvesting 'young' and 'mature' ginger?
The primary differences are in the taste, texture, and skin. 'Young' ginger is harvested earlier, at around 4-6 months. It has a thin, pale skin that doesn't need peeling, a milder, less pungent flavour, and a more tender texture. 'Mature' ginger, harvested at 8-10 months, is what you typically buy in shops. It has a tough brown skin, a fibrous texture, and a much spicier, more concentrated flavour.
Can I grow ginger hydroponically without any soil?
Absolutely. Ginger thrives in hydroponic setups, which can accelerate growth and increase yield. Using an inert medium like coco coir or clay pebbles in a drip system or a Deep Water Culture (DWC) system provides excellent root aeration and direct access to a balanced nutrient solution. This method produces a very clean final product and gives you complete control over the growing environment for maximum results. Check out our starter kits for the best prices.
How much ginger will I get from one plant?
Your harvest size is directly related to your growing conditions and container volume. A single healthy 2-inch rhizome piece can multiply significantly, producing a new 'hand' of ginger weighing anywhere from 200g to over 450g. Using a large pot or an efficient hydroponic system with the correct nutrients is the key to maximising your yield. A bigger setup and optimal care will produce a much larger harvest from your initial investment.